Branding Trade Show Table Covers: Tips for High-Quality Logos
Published: Dec 20, 2025Author: Admin
Creating a strong visual presence at events is essential for marketing teams. Custom logo table covers are a vital branding tool, but ensuring your logo prints crisp and clear at large sizes can be challenging. This guide details how to prepare graphics for table skirt with logo printing and banners, highlighting best practices and the value of high-quality vector exports.
Learn how to achieve flawless trade show branding with actionable steps for logo files, print quality, and visual consistency on event displays.

Why Custom Logo Table Covers Matter for Trade Show Branding
Making a memorable impression at trade shows is crucial for any marketing team. Here’s why custom logo table covers and table skirts with logos are essential:
- Instant Visual Impact: A well-designed table cover draws attention and elevates your booth’s professionalism.
- Consistent Brand Identity: Repeated logo use across banners, table covers, and collateral solidifies brand recall.
- Functional and Flexible: Table covers provide both branding and a tidy appearance, hiding unsightly storage or table legs.
- Photograph-Ready: High-quality visuals increase the chance of being featured in event photos and media coverage.
Case Example: At a recent expo, a tech startup used a vibrant logo on a fitted table skirt with logo. Their booth attracted 30% more visitors compared to similar-sized competitors, according to event analytics [1].
How High-Resolution Logos Improve Table Skirt and Banner Printing
Large-format printing magnifies every detail. Here’s how to ensure your logo looks sharp:
- Prioritize Vector Formats: Use vector files (.AI, .EPS, .SVG) which scale infinitely without losing quality.
- Minimum Resolution for Rasters: If raster images are unavoidable, ensure files are at least 150–300 DPI at full print size.
- Check Color Profiles: Opt for CMYK color mode for accurate print reproduction, versus RGB meant for screens.
- Outline Text and Expand Strokes: Convert all fonts to outlines and expand strokes to prevent missing elements during print.
- Avoid Gradients/Effects: Subtle gradients or drop shadows may not reproduce well at scale—test print small sections first.
Pro Advice: Always request a print-ready PDF proof from your vendor before finalizing the order.
Step-by-Step: Preparing Your Logo for Large-Format Table Covers
Follow this actionable workflow to guarantee your trade show branding stands out:
1. Start With the Right File Type
- Export your logo from design software (Adobe Illustrator or similar) in vector format.
- If using an online logo tool, select “SVG” or “EPS” for export.
2. Set the Correct Dimensions
- Measure your table skirt or banner size (e.g., 72"x30" for standard tables).
- Create your artboard at full scale or a proportional ratio (e.g., 1:10), but keep vector elements.
3. Convert Fonts and Outlines
- Select all text and choose “Create Outlines” to avoid font substitution errors.
- Expand any strokes or effects in your logo.
4. Use Pantone or CMYK Colors
- Specify Pantone colors for consistency across vendors.
- Otherwise, ensure all colors are CMYK for print.
5. Double-Check Logo Placement
- Keep the main logo at least 2"–3" from the edge to avoid trimming or distortion.
- Center logos horizontally and vertically for balance.
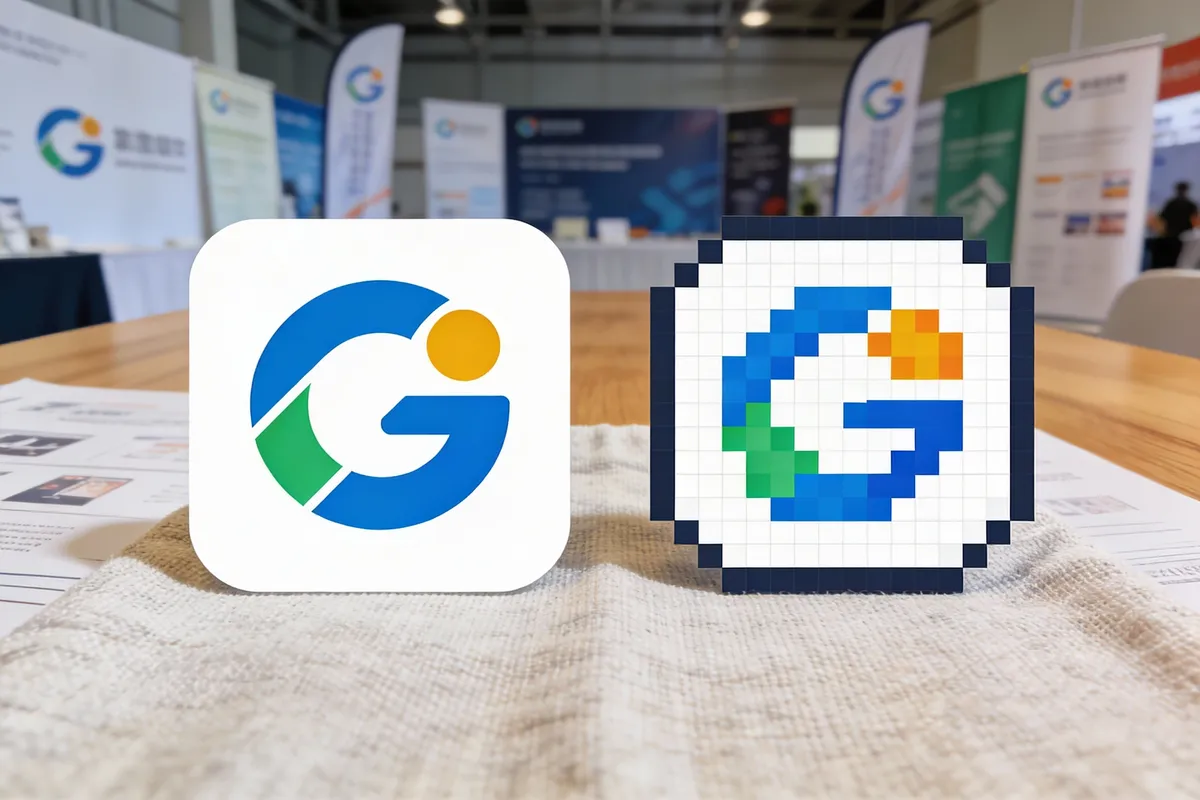
Mini-Case: A regional bank once submitted a PNG logo for a trade show table skirt. The result was a visibly pixelated logo that undermined their brand. Switching to a vector logo the following year resulted in a crisp, professional finish.
Common Pitfalls and How to Avoid Them
Avoid these frequent mistakes when preparing logos for custom logo table covers and banners:
- Low-Resolution Images: Never upscale small raster images; always use vector or high-res originals.
- Incorrect Colors: Failing to convert to CMYK can lead to color mismatch between digital and print.
- Missing Bleed and Safe Zones: Not accounting for bleed may cause important design elements to be cut off.
- Unreadable Fonts: Thin or script fonts often become illegible at distance or when printed on fabric textures.
Tip: Ask your print vendor for their specific artwork guidelines. Many offer templates to help align your design.
Leveraging High-Quality Vector Exports for Flawless Results
One of the most effective ways to ensure your logo is print-ready is through high-quality vector exports:
- Infinite Scalability: Vectors maintain sharpness at any size, ideal for table skirts, banners, and backdrops.
- Consistent Results: Vector files eliminate pixelation, ensuring every booth asset looks professional.
- Easy Edits: Brand updates or tweaks can be made quickly without losing fidelity.
Framework: The “VVV” Test for Trade Show Graphics
- Vector: Always use scalable artwork.
- Visible: Ensure the logo stands out at a distance.
- Verified: Double-check with a print proof or mockup.
Real-World Mockup: Bringing Your Brand to Life
Mockups provide a preview of your branded table skirt with logo before production. Here’s how to use them effectively:
- Upload Logo to Online Mockup Tools: Test different layouts, color backgrounds, and placements.
- Get Team Feedback: Share mockups using shareable links for internal review.
- Iterate Quickly: Make color or sizing adjustments and re-export until the design feels right.
Quick Scenario: A nonprofit created three table cover mockups (full logo, emblem only, logo plus tagline) and gathered feedback from their team. The consensus pick combined a centered logo with a bold color background, increasing booth visibility at their next event.
Frequently Asked Questions
How do I know if my logo is high-res enough for custom logo table covers?
- Use vector formats (SVG, AI, EPS).
- For raster images, ensure 150–300 DPI at print size.
Can I use the same logo for banners and table skirts with logo printing?
- Yes, if it’s a vector file.
- Adjust placement and scale for each application.
What file types do print vendors prefer for trade show branding assets?
- PDF, AI, or EPS formats.
- Always confirm with your vendor for specifics.
Conclusion
For marketing teams, investing in custom logo table covers and banners can transform an ordinary booth into a brand beacon. Start with high-resolution, vector logos, adhere to print best practices, and use real-world mockups to preview your trade show branding. By following these steps, you ensure every detail—from color accuracy to logo placement—contributes to a cohesive and professional event presence.
References
- https://www.eventmarketer.com/article/the-impact-of-visual-branding-at-trade-shows/
- https://www.printing.org/library/cutting-edge-guide-to-large-format-printing
- https://www.pantone.com/articles/technical/how-to-use-pantone-colors-in-printing
- https://www.exhibitoronline.com/topics/article.asp?ID=2543